Menu
$ AUD
-
$ AUD
-
$ NZD
-
$ USD
-
€ EUR
-
$ CAD
-
د.إ AED
-
$ ARS
-
R$ BRL
-
£ GBP
-
Ft HUF
-
₹ INR
-
kr. ISK
-
KSh KES
-
RM MYR
-
K PGK
-
₲ PYG
-
₱ PHP
-
zł PLN
-
₽ RUB
-
R ZAR
-
฿ THB
-
₺ TRY
Painting your trailer is essential to protect it from rust and corrosion, with the added benefit of improving its appearance.
In this article, we unpack the three main types of trailer finishes:
We examine each finish in detail, including the preparation process, pros and cons, and cost.
Galvanised steel refers to the treatment method used to extend longevity and enable the steel to withstand harsh environments. Galvanising is considered a sacrificial protection – the zinc coating absorbs corrosive materials before they can react with the steel.
This process involves the following steps:
NOTE: It is important that all section stock (RHS, SHS, etc.) and plate that is fully welded around the perimeter, has sufficient holes drilled to; A) prevent explosion from pressure build up and, B) to allow the excess zinc to drain. For detailed instructions, contact the dipping facility prior to starting your build as the location of the holes may affect how you put your trailer together. Be aware when drilling the drain holes as you do not want to affect the integrity of the trailer.
In terms of cost, galvanising ranges between $3 – $5 AUD per kilogram of steel. Keep in mind that you are charged per kilogram after the dipping process, which generally adds an extra 4% to the total mass.
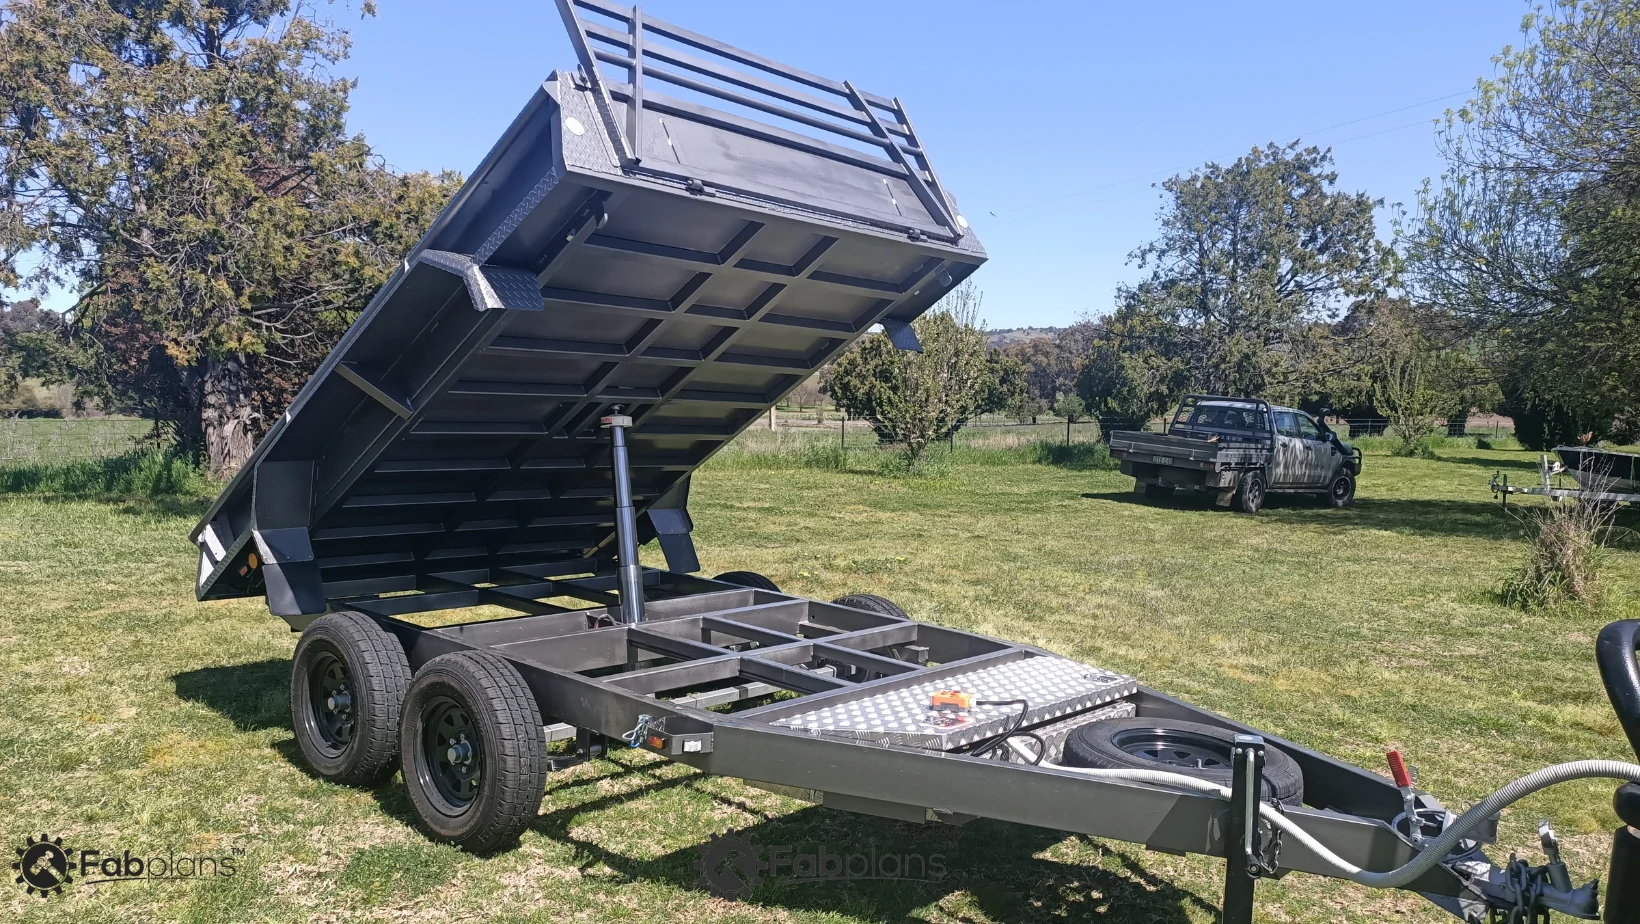
| Example: Flat Top Hydraulic Tipping Trailer | |
|---|---|
| Total weight of steel | 300kg |
| Weight after dipping | 300kg x 1.04 = 312kg |
| Average price per kg | $4.00 |
| Cost of gal dipping | $312 x 4 = $1,248.00 |
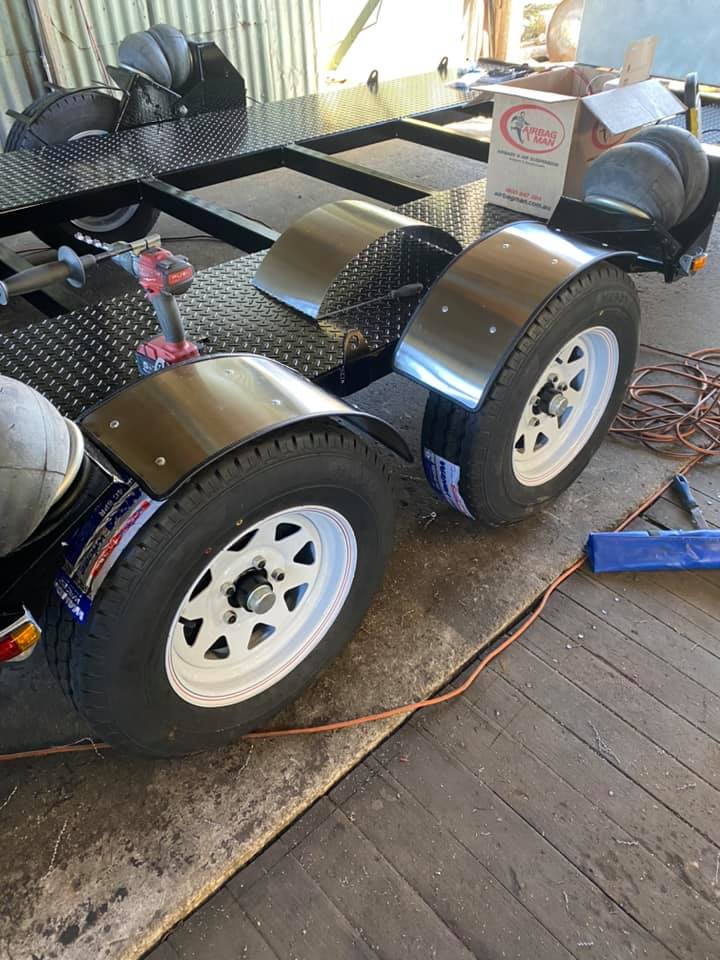
An alternate solution to hot dip galvanising is to build your trailer from pre-galvanised steel. This is a cheaper option and can save you time as you won’t be waiting on the galvanising facility (if you even have one in your locality). Once you have built the trailer you can treat the welds with a zinc-based paint. In my experience, this works well on the farm but is not a great option if you are trying to mitigate against saltwater. Often the painted welds will start to rust within 12 months.
| Pros | Cons |
|---|---|
| Hard smooth coating resulting in a scratch resistant finish. | Higher cost. |
| Low maintenance. | Not all trailer parts can be galvanised – depends on their size, shape and material. |
| Durable and long-lasting; 20+ years. | Lacks the colour and finish options achieved with powder coating or painting. |
| Rust and corrosion resistant. | Requires drilling drain holes. |
Galvanising is typically the best option for boat trailers where superior rust protection is required.
Powder coating involves applying an electrostatically charged dry powder to clean steel. The charged powder particles seek to ground to the steel, and after heat treatment, form a hard finish.
This process involves the following steps:
In terms of cost, it varies greatly depending on the provider. For a trailer similar to the one mentioned in the above example, you could expect to pay between $1,800 – $2,300 AUD.
| Pros | Cons |
|---|---|
| Aesthetically pleasing finish. | Highest cost of all the paint coating options. |
| Smooth hard finish (scratch resistant, but not as good as galvanising). | Not something the home DIYer can easily achieve. |
| Various colour and texture options. | Often length waiting time on provide |
| No product running or dripping – it’s a ‘dry’ product. | |
| Gets into difficult to reach places. |
Traditional DIY paint coatings are still widely used for trailers. The best paint for a trailer will be heavy duty epoxy-based paint, but don’t forget the preparation and primer first!
This process involves the following steps:
In terms of cost, many people believe this is the cheapest option. It is…just!
But what lifespan do you want out of your trailer? When you consider the time involved to achieve a finish with a similar lifespan to either gal dipping or powder coating, the cost is actually higher. This is because of the necessity to re-coat your trailer every 5-10 years, not to mention the time it takes to do this.
To achieve a good quality DIY paint job for the Flat Top Hydraulic Tipping Trailer you are looking at between $500-$800 and even more if using a 2 part epoxy paint.
| Pros | Cons |
|---|---|
| Aesthetic customisation – can paint different parts in different colours to suit branding. | Lower durability – prone to chipping and flaking. |
| Suitable for the DIYer. | Labour intensive. |
| Cheaper than other methods. | Re-coating required every 5-10 years. |
| Easily repairable. | Poor choice for boat trailers. |
You should now have a pretty good overview of each trailer finish, and if we haven’t already communicated this enough, painting your trailer is crucial for safeguarding against rust and corrosion which will only give you headaches!
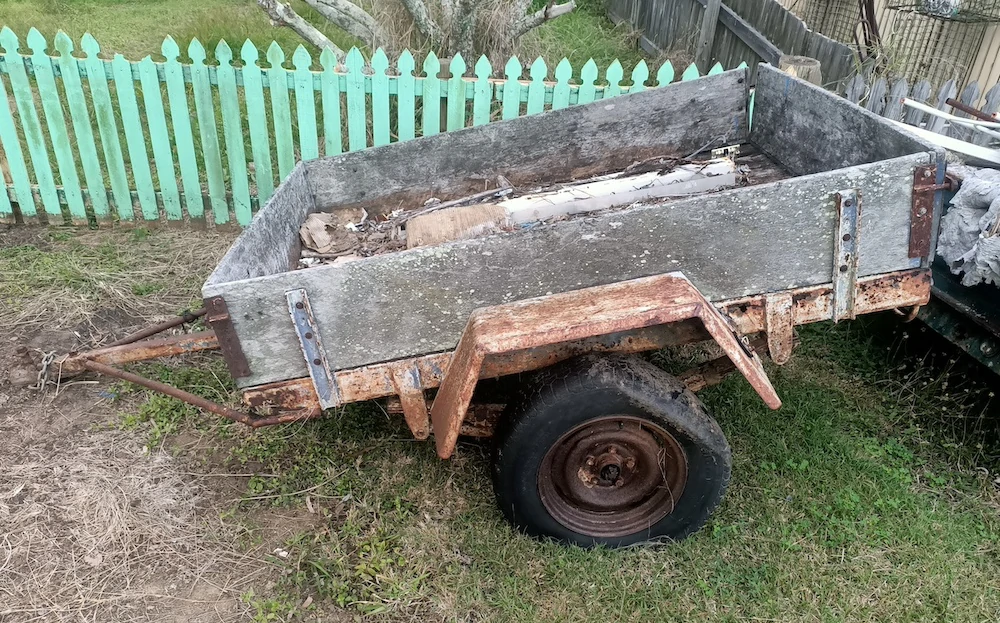
Q: What paint should I use on a rusty trailer?
A: You should NEVER paint over a rusty trailer frame. Before giving your trailer a new lease of life, clean away rust and apply a rust proof agent to reduce further corrosion before following the steps above.
Q: Can I powder coat a galvanised trailer?
A: Yes! We call this the duplex effect because it provides extra long-term protection.
Q: What about stainless steel trailers? Can I paint them too?
A: We do not recommend painting a stainless steel trailer. This is because paint can reduce the corrosion resistance of stainless steel – stainless steel needs oxygen to repair its protective film.
Like this post? Follow, like or share on your favourite social platform. You can leave us a comment below!